December 2, 2025
Paint a Feature Wall The Ultimate DIY Guide
Ready to paint a feature wall? Our ultimate DIY guide shares pro tips on choosing colors, prepping your space, and getting a flawless, lasting finish.
Painting a feature wall is one of those classic DIY projects for a reason. You pick one wall, give it a totally different color or finish, and bam—the whole room feels different. It’s a high-impact, low-effort move that you can easily knock out in a weekend. The real trick, though, is picking the right wall and the right color to make it feel like a deliberate design choice, not just a random splash of paint.
Why a Feature Wall Is Your Best DIY Project
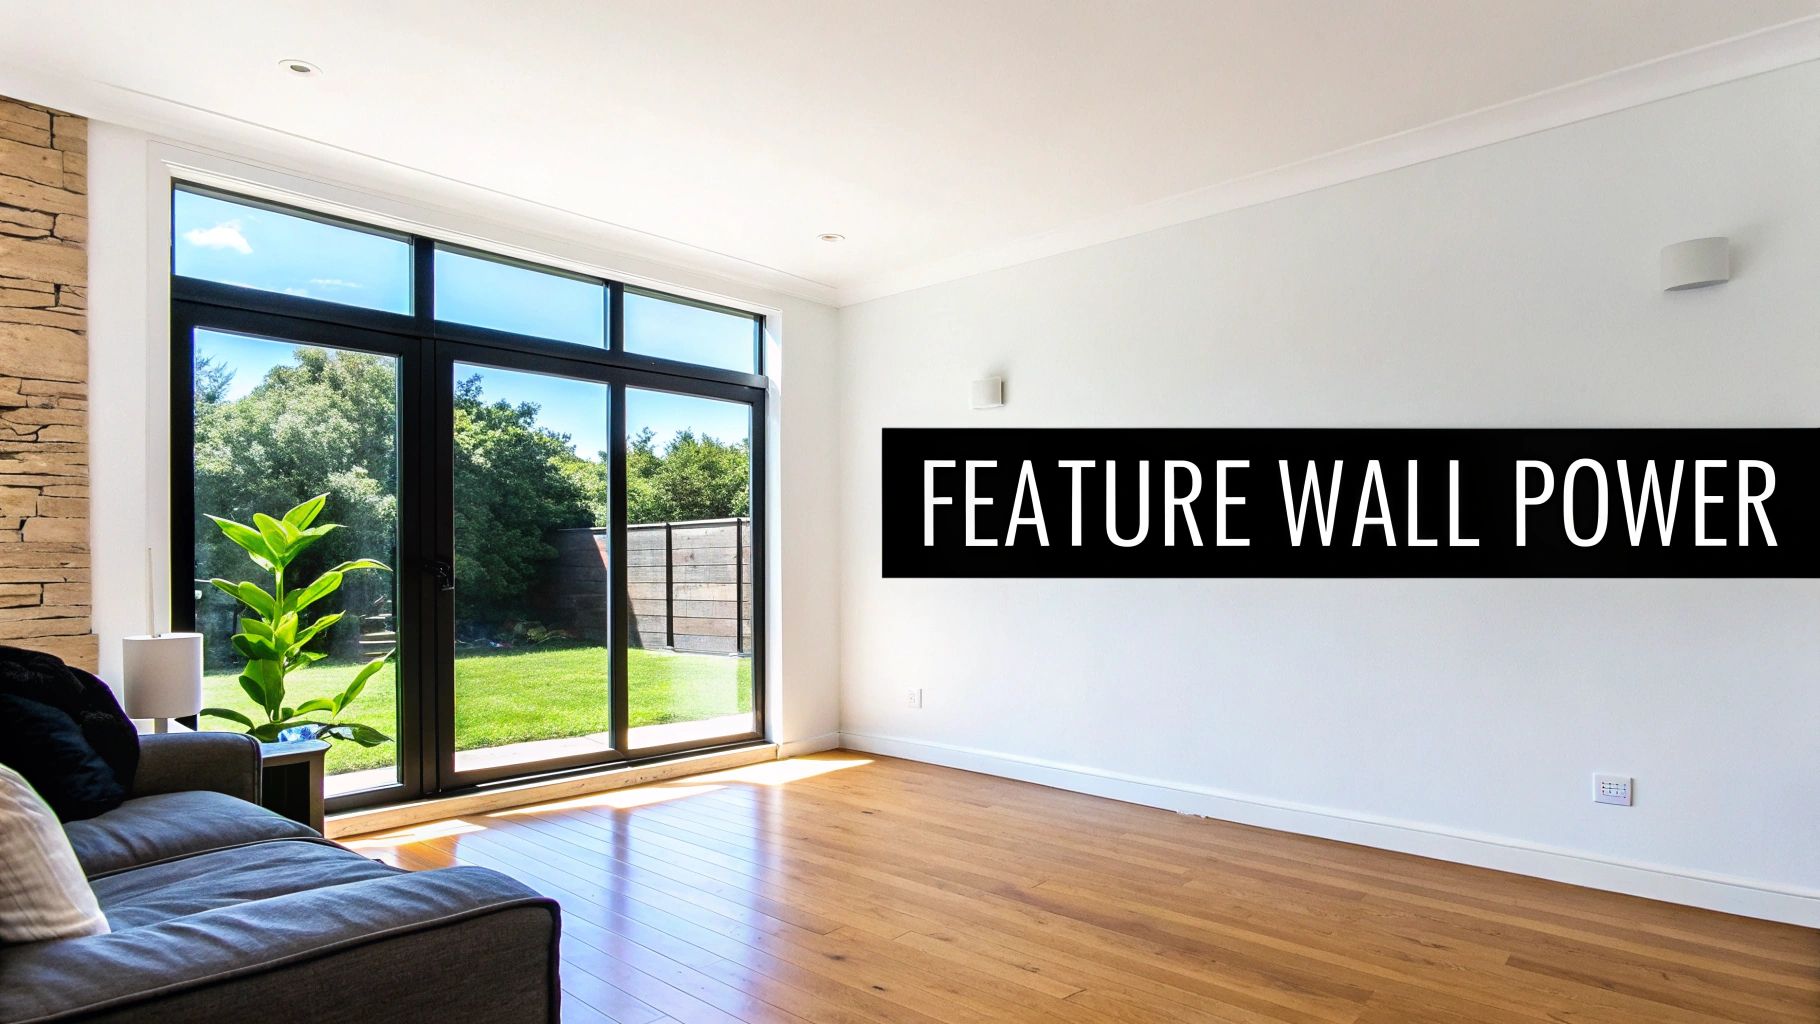
Let's get one thing straight: this isn't about that one randomly colored wall you saw in houses from the early 2000s. A modern feature wall is a savvy design tool. It’s a smart, affordable way to redefine a room without tearing down walls or breaking the bank. It's about so much more than just a "pop of color"; it's a strategic move that amps up your home’s character.
When you get it right, a feature wall can solve a bunch of design problems at once, which is why it's one of the most satisfying projects you can tackle yourself.
The Power of a Single Wall
Today's feature wall is all about purpose. It should look intentional, like it was part of the plan all along, not like you just ran out of paint. The whole point is to guide the eye, create a specific mood, or even define how a space is used.
Here’s what a single painted wall can do:
- Create a Focal Point: If your room feels a bit directionless, a feature wall immediately gives it a center of gravity. It's the perfect backdrop to anchor your sofa, bed, or a great piece of art.
- Show Off Cool Architecture: Got a fireplace, some nice built-in shelves, or a funky sloped ceiling? A feature wall is the perfect way to make those details the star of the show.
- Define Different Zones: In an open-plan home, a feature wall is a fantastic trick for visually separating spaces. You can carve out a dining nook from the living room or create a dedicated office corner.
- Set the Mood: Color has a huge impact on how a room feels. A deep, moody blue can make a massive room feel intimate and cozy, while a bright, sunny yellow can inject a dose of energy and fun.
A feature wall is your secret weapon for transforming a room's entire dynamic. It’s less about following a trend and more about expressing your personal style in a bold yet contained way.
This isn't just a local trend; it's a design choice homeowners all over the world are loving because it’s so accessible and effective. The global wall decor market, which was valued at a staggering USD 64.7 billion, is still growing. That number shows just how many people are using techniques like this to personalize their spaces. You can explore more data about the wall decor market to see the full scope.
Ultimately, painting a feature wall is about adding a layer of personality and depth. It’s a project that delivers a massive visual payoff for a pretty small investment of time and money.
Choosing the Perfect Wall and Color
Before you even think about cracking open a can of paint, you’ve got two big decisions to make: which wall to highlight and what color to use. A feature wall should feel intentional, drawing the eye for all the right reasons. Get it wrong, and it can make a room feel unbalanced or random. Get it right, and you’ll add a massive dose of depth and personality.
Think of it this way: the feature wall is the main character in your room's story. The best candidate is usually the wall you naturally look at when you first walk in. This could be the wall behind your sofa, the one your headboard is against, or a wall with a cool architectural detail like a fireplace.
Selecting the Right Surface
Choosing the wall is about more than just finding an empty space. A great feature wall works with the room’s layout, not against it.
Here’s what I look for when I’m picking one out:
- Architectural Features: A wall with built-in shelving, an interesting alcove, or a chimney breast is a prime candidate. Painting it a contrasting color immediately makes that feature the star of the show.
- A Solid Wall: Try to avoid walls chopped up by lots of doors or windows. These interruptions can break up the color and seriously weaken the impact you're going for.
- Room Flow: Your feature wall should anchor the space. In an open-plan home, it’s a brilliant way to visually separate a dining area from the living room, giving each zone its own distinct vibe.
The secret is to pick a wall that already has a purpose or a natural focal point. The paint is just there to give it the spotlight it deserves.
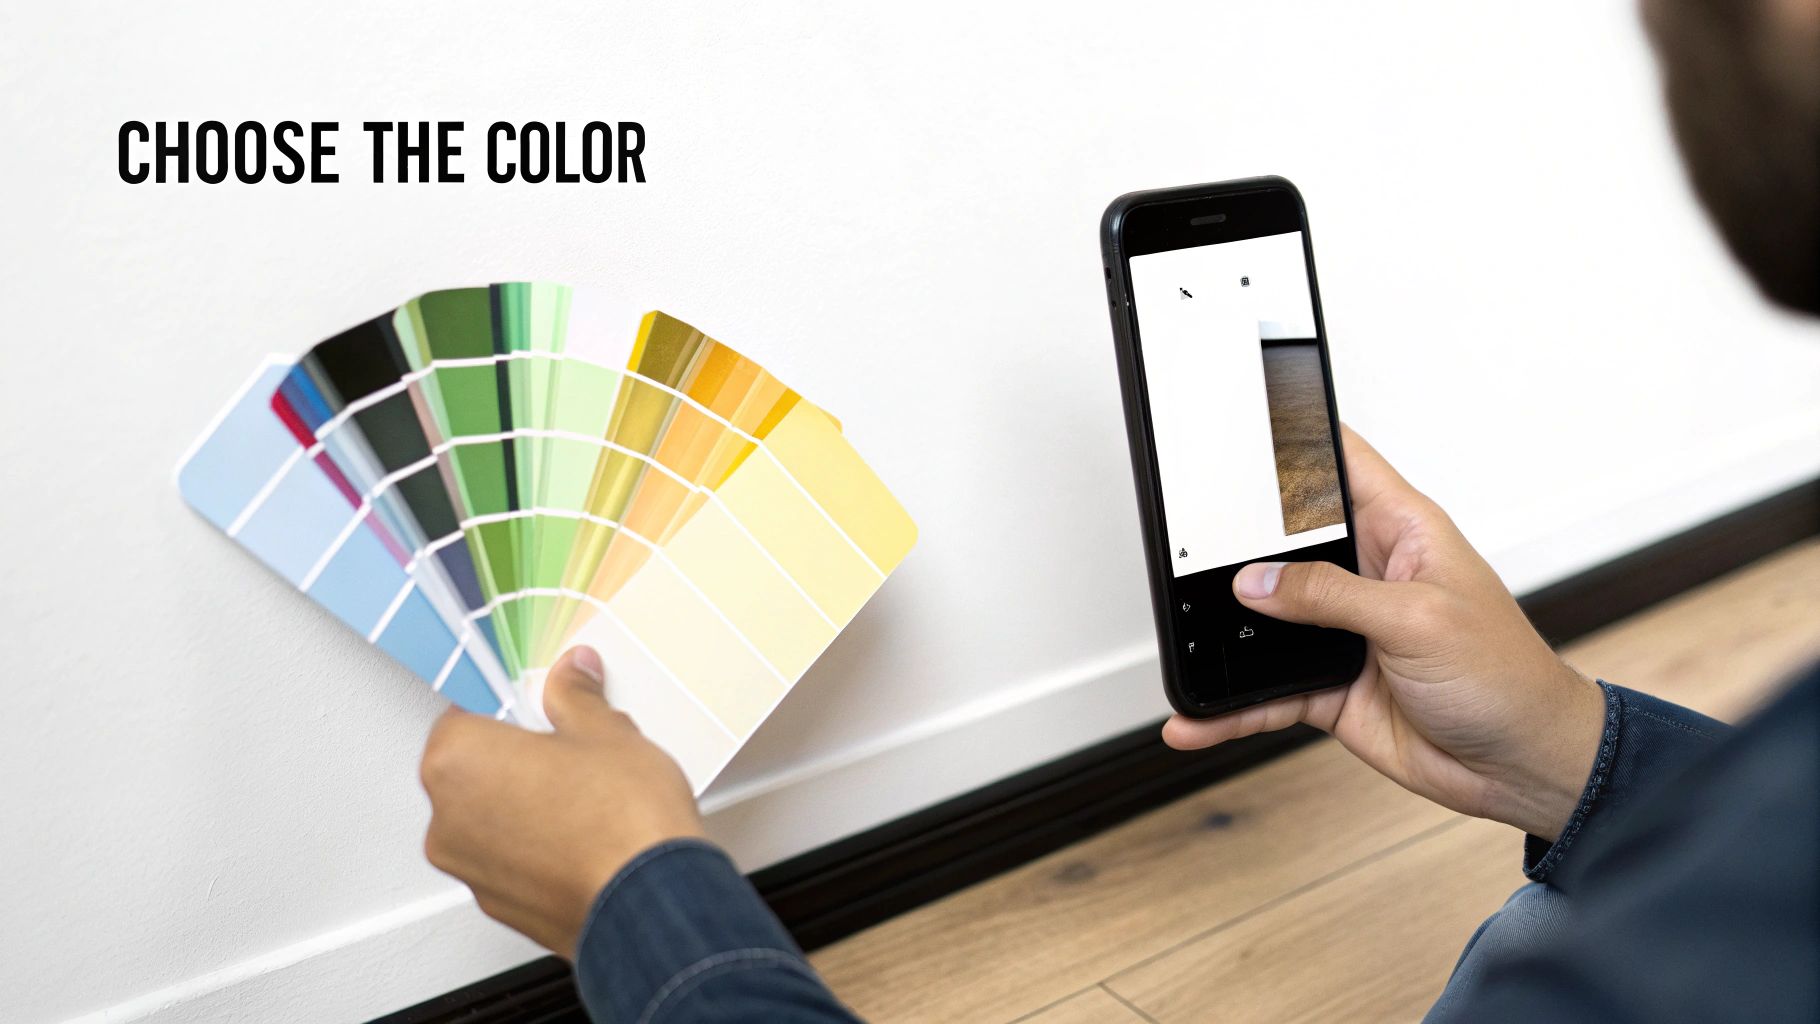
Finding Your Perfect Color and Finish
Once you've picked your canvas, it's time for the fun part: color. The hue you choose will completely set the mood. Dark, moody colors like charcoal or deep navy can make a large room feel cozier and more intimate. Bright, vibrant shades inject energy, while soft, earthy tones create a calm, relaxing atmosphere.
A pro tip is to pull a color from something you already have in the room—a throw pillow, a piece of art, or a pattern in your rug. This is the easiest way to guarantee your new wall ties everything together. Whipping up a quick digital mood board can be a game-changer here; you can find some great interior design mood board examples to get your ideas flowing.
And don’t forget about the finish! It plays a huge role in how the color looks and performs.
Choosing the Right Paint Finish
The paint's sheen—or lack thereof—can make or break the final look. This table breaks down the most common options to help you decide.
| Finish Type | Appearance | Durability | Best For |
|---|---|---|---|
| Matte | No sheen, flat look | Low | Hiding wall imperfections, best for low-traffic areas like adult bedrooms. |
| Eggshell | Low sheen, soft glow | Medium | Easy to clean without being too shiny. A go-to for living rooms. |
| Satin | Velvety, medium sheen | High | Resists moisture and scuffs, making it ideal for hallways or kids' rooms. |
Ultimately, a matte or eggshell finish is usually the best bet for a feature wall, as a higher sheen can highlight every tiny imperfection on the surface.
Visualize Before You Paint
Let’s be honest, committing to a bold color can be nerve-wracking. This is where technology can save you from a costly mistake.
Platforms like AiRoom let you upload a photo of your actual wall and digitally test out different paint colors. This isn't just about picking a color; it's about seeing how that specific shade interacts with your room's natural light, your flooring, and your furniture. You can experiment with dozens of options in minutes—all before you even buy a single sample pot.
Prepping Your Room for a Flawless Finish
If you ask any seasoned painter for their secret to a perfect job, they won't talk about a fancy brush or a specific brand of paint. They’ll tell you that 90% of a great paint job is all in the prep work. Rushing this stage is the biggest mistake you can make, and taking your time here is what separates a DIY-looking job from a truly flawless finish.
This is the unglamorous but absolutely essential groundwork. It’s what ensures your new feature wall looks crisp, smooth, and intentional. Before you even think about popping the lid on that paint can, you need to create the perfect canvas.
Clear and Protect Your Space
First things first: clear the area. Get all the furniture away from the wall you're painting. If you can’t move everything out of the room, just push it all into the center and cover it completely with plastic sheeting or a few old blankets. Our guide on 10 essential furniture arrangement tips for 2025 might even spark some new layout ideas for when you're finished.
Next up, protect your floors. A canvas drop cloth is your best friend for this—it’s absorbent and far less slippery than plastic. Lay it flat and make sure it extends a few feet out from the wall to catch any stray drips or splatters. Trust me, they happen.
Create a Perfect Canvas
Now, let's get that wall ready. A pristine surface is non-negotiable if you want a professional look.
Start by giving the wall a quick wash. A sponge with a mild soap and water solution is perfect for getting rid of any dust, grime, or oils that might be clinging to the surface. Let it dry completely.
Once it's dry, get up close and inspect it for any little imperfections.
- Fill in any nail holes, dents, or small cracks with a bit of spackle and a putty knife.
- Apply just a small amount, smooth it over, and give it plenty of time to dry.
- After the spackle has cured, lightly sand the patched spots with fine-grit sandpaper—220-grit is perfect—until they feel totally flush with the rest of the wall. This tiny step makes a huge difference in avoiding ugly bumps under your final coat.
Tape for Those Razor-Sharp Edges
The real secret to those satisfyingly clean lines you see in magazines? It's all in the taping. Don't cheap out here; grab a roll of high-quality painter's tape.
- Ceiling and Trim: Carefully apply the tape along the edges where your feature wall meets the ceiling, baseboards, and any adjoining walls.
- Press and Seal: This is the pro move. Run a putty knife or even a credit card along the edge of the tape, pressing down firmly. This creates a tight seal and is the single best way to stop paint from bleeding underneath.
- Outlets and Switches: Don't just tape around them. Turn off the power at the breaker, then use a screwdriver to remove the faceplates. It takes two minutes and guarantees the cleanest possible finish.
This focus on careful prep is part of a bigger trend. The global wall art market, now valued at a massive USD 59.42 billion, is thriving because DIY culture has made projects like this more accessible than ever. With over 70% of homeowners in the United States tackling a feature wall in the last five years, getting the prep right is what makes your project stand out. You can find more stats on the rise of DIY decor on polarismarketresearch.com.
Your Guide to Professional Painting Techniques
With the prep work done and your room protected, it's time for the fun part: getting some color on the wall. This is where your vision truly comes to life. Getting that seamless, streak-free finish isn't about magic; it's about using the same tried-and-true techniques the pros rely on.
Let's start with a quick word on primer. If you're making a big color jump—say, from a dark navy to a light beige, or you're using a deeply saturated color like a fire engine red—primer is non-negotiable. A good coat of tinted primer ensures your chosen color pops and looks true, rather than muddy. It also gives the paint something to grip onto, leading to a much more durable finish.
Mastering the Art of Cutting In
The secret to getting those razor-sharp lines where the wall meets the ceiling or trim isn't just about tape. It’s a technique called "cutting in." This is where you use a quality angled brush to paint a clean border around the entire feature wall.
Grab your angled brush and dip only about a third of the bristles into the paint. Tap the excess off on the inside of the can—you want control, not drips. With a steady hand, paint a smooth, confident band about 2-3 inches wide along the ceiling line, baseboards, and any adjoining corners. This band acts as a buffer, letting you get close with the roller without hitting the adjacent surfaces.
A crucial tip I've learned over the years: Don't let your cut-in lines dry completely before you start rolling. You want to maintain a "wet edge." Rolling over the still-damp paint from your brushwork helps the two textures melt together, preventing that ugly picture-frame effect, also known as "hatbanding."
Rolling for a Flawless Finish
Once you've framed the wall by cutting in, it's time to fill it all in with the roller. A good rolling technique is what stands between you and a wall full of streaks, drips, and patchy spots.
Here’s how to get it right every time:
- Load the Roller Properly: Pour paint into your tray so it's about one-third full. Dip the roller in, then roll it back and forth on the ribbed part of the tray to get rid of the excess. Your roller cover should be evenly saturated, not dripping wet.
- Use the "W" Method: Instead of just rolling up and down, start a few inches from a corner and paint a large 'W' or 'M' on the wall. Then, fill in that shape with parallel strokes, slightly overlapping each one.
- Stay Consistent: This simple 'W' pattern is a game-changer because it distributes paint far more evenly than random rolling. Keep working in manageable sections, always rolling back into the wet edge of the previous section to ensure a smooth, uniform finish.
This whole process is built on the foundation of good prep work.
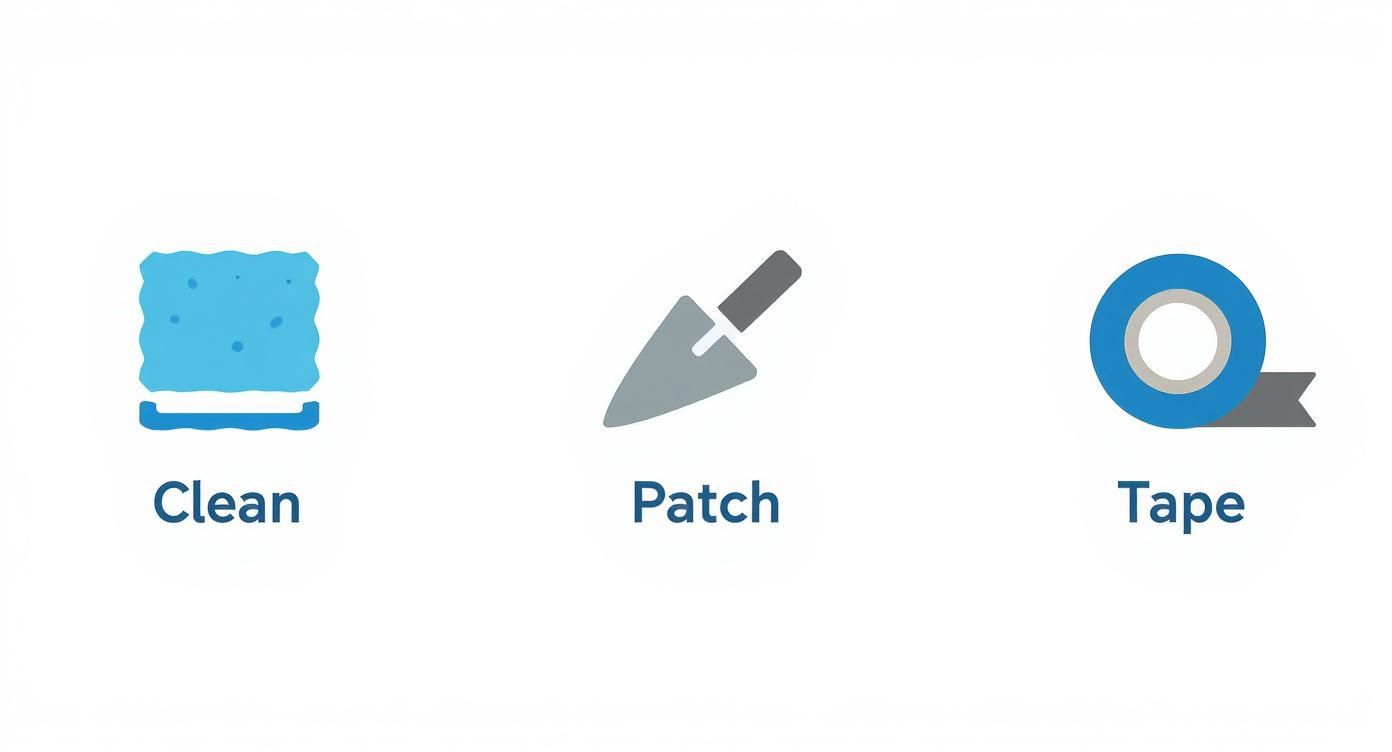
These three simple icons—clean, patch, and tape—are a great reminder that a perfect paint job starts long before you even open the can.
The Power of a Second Coat
I know it's tempting to call it a day after one coat, but trust me on this: the second coat is what separates an amateur job from a professional one. It delivers that depth and richness of color you’re looking for.
Let that first coat dry completely—check the can, but it's usually around 2-4 hours. A second pass will cover any spots you might have missed and create a truly uniform, durable surface that will look fantastic for years. This is especially true for tricky surfaces like textured plaster or a stone fireplace. If you're tackling a project like that, our guide to a '70s stone fireplace makeover offers some specific advice.
Once you’re comfortable with these basics, you can start getting creative. The same techniques apply to more complex designs, like using painter's tape to map out bold stripes or geometric patterns. That's how you turn a simple feature wall into a genuine piece of art.
The Final Touches and Long-Term Care
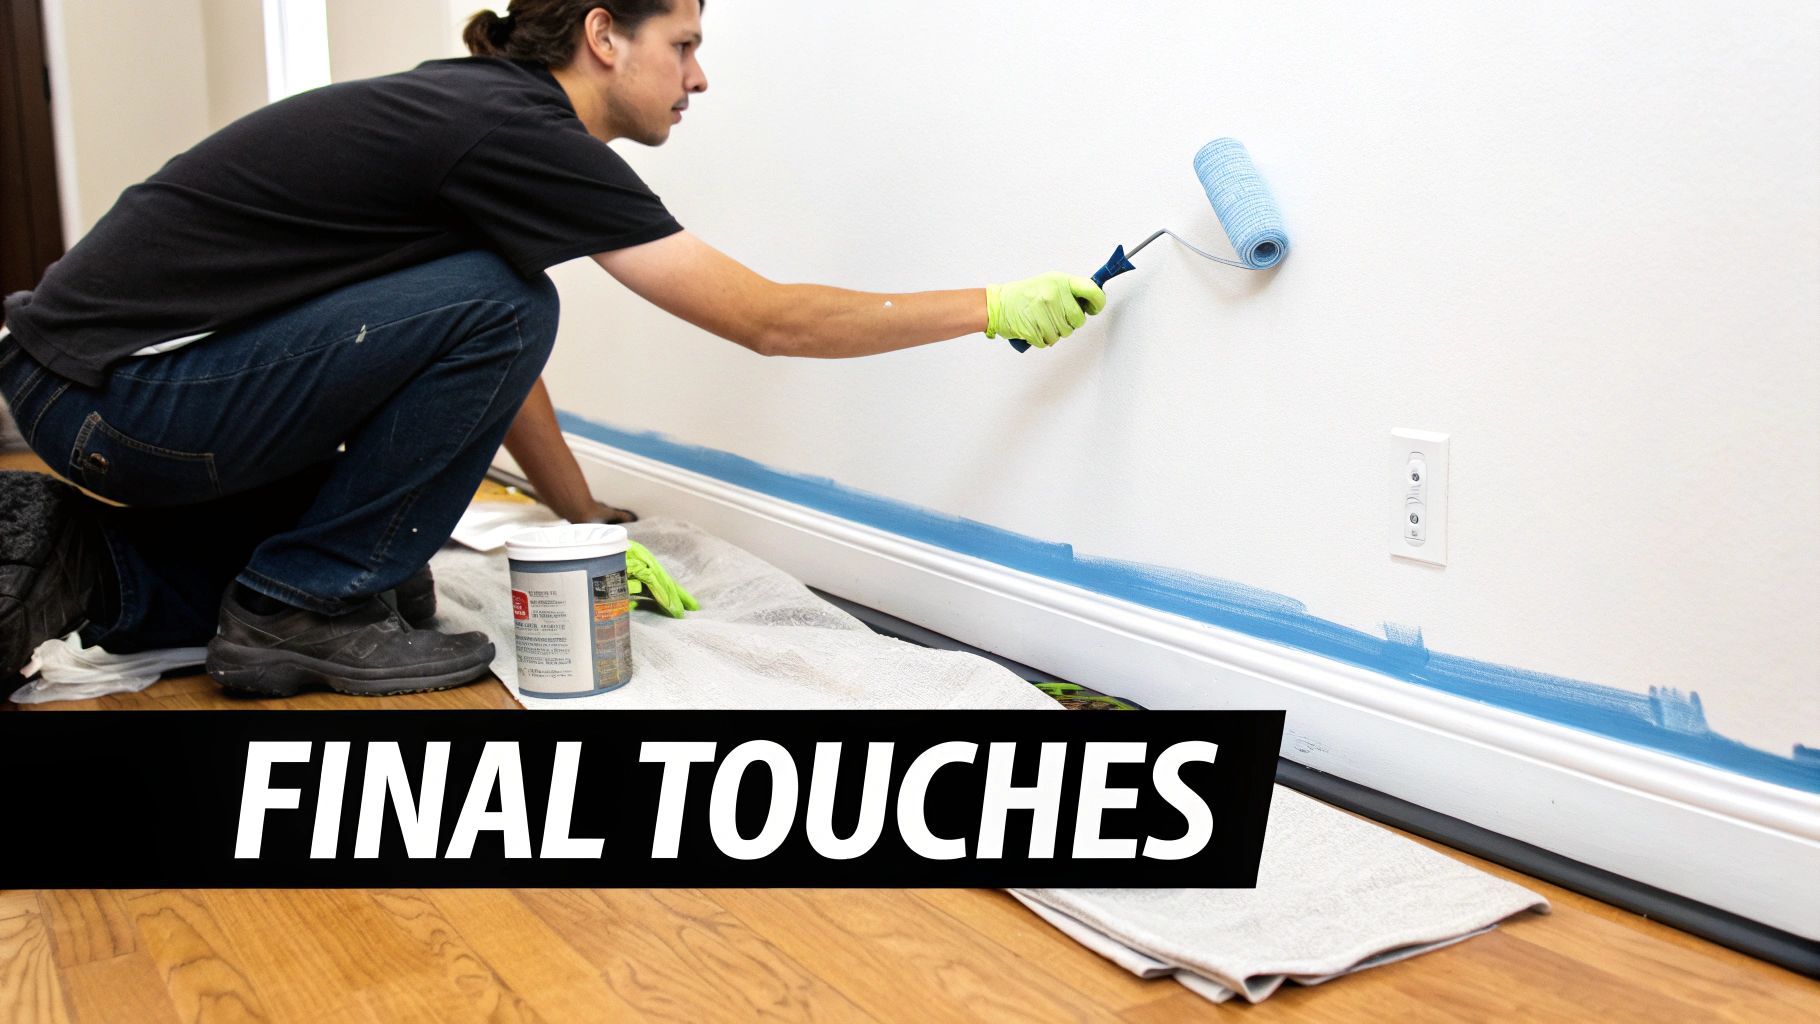
You’ve done the hard work, and the finish line is in sight. These final steps are what lock in that professional-quality result and ensure your new feature wall looks amazing for years. Don't rush through the cleanup; a methodical wrap-up is just as crucial as careful prep.
The best part of any paint job? Peeling off the painter’s tape. Timing here is everything. You don't want to wait for the paint to fully cure. Instead, pull the tape when the final coat is still slightly damp but dry to the touch, which is usually about an hour after you finish painting.
Pull it off at a slow, steady 45-degree angle away from the wall. This little trick prevents the fresh paint from lifting and gives you that perfectly crisp edge you've been working toward.
Cleaning and Storing Your Supplies
Properly cleaning your tools right away saves you from having to buy new ones for your next project. If you used latex paint, a simple wash with soap and warm water is all you need for your brushes and rollers. After they're clean, I always hang my brushes with the bristles down to dry—it’s the best way to help them keep their shape.
Storing leftover paint correctly is a must for any future touch-ups.
- First, wipe any excess paint from the can's rim.
- Next, place a small piece of plastic wrap over the opening before hammering the lid on tight.
- Finally, store the can upside down in a cool, dry place. This creates an airtight seal.
That simple upside-down trick prevents a skin from forming on top, keeping your paint fresh and ready for the inevitable scuffs or dings down the road.
Your feature wall isn't finished until the room is put back together and your tools are clean. A methodical cleanup ensures your hard work shines and prepares you for the next burst of inspiration.
Aftercare for a Lasting Finish
Patience is key after you paint a feature wall. Most modern paints feel dry to the touch in just a few hours, but they take much longer to fully cure. We're talking up to 30 days for the paint to completely harden. Be careful not to place furniture directly against the wall during this time, or you'll risk leaving marks.
When it comes to cleaning, a soft, damp cloth is your best friend. Steer clear of any harsh chemical cleaners, as they can easily damage the paint's finish. A gentle wipe-down is all that's needed to keep your beautiful new wall looking brand new.
What to Do When Your DIY Paint Job Goes Wrong
Even the most meticulous painter can run into a few surprises. Let's be honest, it happens. But the real mark of a successful DIY project isn't perfection from the start—it's knowing how to fix those little hiccups without breaking a sweat.
One of the most common heartbreaks? Fuzzy, jagged lines from paint bleeding under your tape. This almost always means the tape wasn't pressed down firmly enough to create a perfect seal. No need to panic. Just let the paint fully cure, grab a small artist's brush, and carefully paint over the bleed with your original trim or wall color. You're essentially creating a new, razor-sharp edge by hand.
Getting Rid of Streaks and Drips
Seeing roller marks or lap lines on your beautiful new wall can be deflating. This usually happens when you don't keep a "wet edge," meaning one section of paint starts to dry before you roll the next one over it. The fix is all about patience.
Wait for the wall to dry completely. Then, lightly sand the streaky areas with fine-grit sandpaper—something around 220-grit is perfect. After wiping away the dust with a clean cloth, you can apply one more thin, even coat. This time, focus on overlapping your strokes slightly to blend everything seamlessly.
And what about those inevitable drips and splatters?
- If the paint is still wet: Just wipe it away with a damp rag. Easy.
- If it's already dried: Don't try to wipe it; you'll just make a smeary mess. Instead, use a putty knife or a razor blade to gently shave the raised drip off the surface. A quick, light sanding and a dab of touch-up paint will make it disappear.
Ever had the final color look nothing like the swatch you picked out? It's almost always the lighting in your room or the old wall color showing through. This is exactly why priming and painting a large test patch are non-negotiable steps. It’s the only way to see how the color will truly look in your space.
Why a Flawless Finish Matters
We're all spending more time at home, and that desire for a polished, professional-looking space is a huge trend. It’s what has pushed the global wallpaper market—a close cousin to the feature wall—to a value of USD 2.3 billion. Everyone wants an interior they can be proud of, and fixing those little DIY mistakes is the key to achieving that high-end result. You can learn more about this growing demand for stylish wall coverings on imarcgroup.com.
Knowing how to handle these common issues ahead of time is a game-changer. When you know how to fix a little bleed or a stray roller mark, you can paint with total confidence, guaranteeing your feature wall turns out exactly as you imagined.
Want to see how your feature wall will look before you even pick up a brush? With AiRoom, you can upload a photo of your room and cycle through endless colors and designs in seconds. See your vision come to life without the guesswork. Try AiRoom today and design your perfect space.